Metal + Honey

  • ashleyheafy.com
  • Blog
  • Meet Us
  • Archive
Cherry Vanilla Bourbon Jam | metalandhoney.com

Cherry Vanilla Bourbon Jam Jammin'

July 08, 2015 by Ashley Heafy in Cooking, Recipes

I absolutely love the concept of preserving and canning your own foods. I know this is an age old process, but despite growing up in a southern family, it's not something that was passed down to me. And with the advent of refrigeration and grocery stores filled with every kind of preserve or pickle you could want, who has the energy to can their own goods these days! The answer is me.

I've always been intrigued by shelf-stable foods. The concept that a fruit can sit in a pantry for months or a year and still not kill you when you eat it is pretty amazing. I also love the idea of being able to take seasonal fruits and freeze them in time so you can enjoy them later in the year. I've been eagerly awaiting cherry season, as it is one of the few fruits I actually love, so I've been on a major cherry binge lately.

I'm not an expert on canning so I won't go into those details, so if you intend to make this jam and properly preserve it, you should read up on proper canning techniques - you don't want to give botulism to yourself or anyone else you love! You don't have to know how to can to make this, but if you don't, you'll have to refrigerate and eat within 2 weeks, which probably isn't much of a challenge if you love cherries! I like to properly can my jams so I can give them as gifts to my food-loving friends and not make them put a timeline on when they have to consume it by.

My favorite book on canning and preserving is Canning for a New Generation. The information is incredibly easy to consume and the recipes are wildly inventive for the niche of canning! She also includes great recipes for dishes to make with your preserves. I actually used her cherry jam recipe as a base for this recipe, but added bourbon and vanilla for my own taste.

Cherry Vanilla Bourbon Jam | metalandhoney.com

Be sure to thoroughly wash your fruits. They've been through a lot of steps to get to your home and a thorough washing is always necessary.

Cherry Vanilla Bourbon Jam | metalandhoney.com

The first step is the biggest pain. Pitting the cherries. I've pitted about 8 pounds of cherries this week alone. My fingernails are stained (and about 5 dish towels! So don't use any that you are particularly fond of). There are many google-able ways to learn how to pit cherries, but I found the chopstick to be the best bet for me. After a splinter or two, I switched to plastic ones that ended up working much better.

Cherry Vanilla Bourbon Jam | metalandhoney.com

Combine your cherries with 1 1/2-2 cups of sugar. I prefer raw cane sugar for the light caramel/molasses flavor that gets removed in the further refinement of white sugar, although white sugar is perfectly fine if that's what you have on hand. Cook over high heat to combine the sugar and break down the cherry juices. After about 10-15 minutes, you should have enough cherry juice to nearly cover the cherries.

Cherry Vanilla Bourbon Jam | metalandhoney.com

Next, you strain your cherries over a bowl to separate the sugary juice. How beautiful is that juice color! All from nature.

Cherry Vanilla Bourbon Jam | metalandhoney.com

Pectin is a necessary requirement in preserving for low acid fruits. It also thickens your jam and reduces cook time (by hours!) You can buy powdered pectin at the grocery store, but why pour grainy powder into your jam when you can get all the natural pectin you need from a few apples. Core and quarter 1 pound (2 large or 4 small) granny smith apples. Put the seeds and cores in a mesh cooking bag or a few pieces of cheesecloth tied up (like a spice sachet) to get the full pectin of the entire apple.

Next, combine the cherry juice and apples over high heat to reduce down to a syrup, about 10-15 minutes. After your juice has become a syrup, combine the cherry fruit, syrup, 3 tbsp. lemon juice and the zest of 1 lemon (for acid and to balance the sugar), 1 vanilla bean scraped with shell (or 3-4 tsp. of vanilla extract), and 4 tbsp. of bourbon. You can omit the bourbon if you want, or if you don't consume alcohol, although, the alcohol cooks out and leaves the bourbon flavor.

Simmer for 10 more minutes to combine ingredients and to allow your jam to further thicken. Remove the apples and your apple bag, and the vanilla bean shell. Spoon your jam into your jars, let cool to room temperature and refrigerate, or continue with a proper canning process.

Cherry Vanilla Bourbon Jam | metalandhoney.com

Last but not least, I love to create cute personalized tags for giving these out to friends! I often include serving suggestions or a treat to go with it. Try buying blank tags from your local art and craft store and decorate them. I've used a stamp I created for my personal creative brand to give them a touch of personality.

Cherry Vanilla Bourbon Jam | metalandhoney.com

Happy jamming!

Cherry Vanilla Bourbon Jam
Makes 6 half pints

4 lbs. sweet cherries
1 1/2-2 cups raw cane sugar (to taste)
1 lb. Granny Smith apples
1 vanilla bean
3 tbsp. freshly squeezed lemon juice
Zest of 1 lemon
4 tbsp. good quality bourbon (I used Maker's Mark)
 

July 08, 2015 /Ashley Heafy
jam, cherries, summer, fruit
Cooking, Recipes
4 Comments
metalandhoney.com

Bacon Deviled Eggs

May 30, 2015 by Ashley Heafy in Cooking

I never used to be into eggs. I also never ate a hard boiled egg on purpose (to my recollection) until about a year ago. The chalky cooked yolks never spoke to me as appetizing. Matthew is pretty much obsessed with them (so much so that I've coined the hashtag #putaneggonit in his honor because he puts an egg on... everything). I slowly worked my way from scrambled eggs to fried eggs and now I'm obsessed with poached eggs. I figured it's now a good time to try making deviled eggs for the first time ever. I come from a Southern family, but somehow I made it 30 years without having made, and having eaten very few, deviled eggs.

I'm not a big fan of plain 'ol mustard and mayo versions, so when I came across a recipe for bacon deviled eggs by The Green Table in the Chelsea Market Cookbook my sister and her husband gifted to us for Christmas, I was ready to dive into my first deviled egg venture.

The hardest part about this was that we had never hard boiled eggs... ever. Again, I don't know how we made it this far in life and cooking without hard boiling an egg. It's actually kind of tough, but the instructions from The Green Table were super helpful, so I will share them!

  • Use eggs that are at least 1 week old (opposite of poaching eggs, which work best when super fresh). It's hard to know how old your eggs are when you don't buy them directly from a farm, but the older the eggs, the more liquid that has evaporated and the easier they will peel.
  • Put eggs in a single layer in a large saucepan, cover with cold water by 1/4" and bring to a boil over medium heat.
  • Reduce the heat and simmer briskly for 2 minutes.
  • Here's the trick I wouldn't have thought: Remove from heat and cover for 12 minutes.
  • Drain eggs and rinse with cold water. Submerge in an ice bath for 10 minutes to cool completely.
  • Rap the egg all over and peel from large end first.

Ours peeled fairly well, but maybe our eggs weren't old enough. A few didn't turn out as pretty as others, but overall, they were perfectly cooked! No weird green yolk spots.

I quickly learned that removing the yolk was a tool best left for my tiny espresso spoons. 

Chelsea Market Cookbook Bacon Deviled Eggs | metalandhoney.com

This is where the old me would've balked at the thought of eating these chalky things.

Chelsea Market Cookbook Bacon Deviled Eggs | metalandhoney.com

Another process I wouldn't have thought of is pressing the yolks through a wire mesh sieve to grate the delicate yolks perfectly. Maybe everyone does this! But again, first timer here.

Chelsea Market Cookbook Bacon Deviled Eggs | metalandhoney.com

The mixins' is what excited me about this recipe. No plain 'ol mayo and mustard. When your flavor in a recipe is coming heavily from spices, I like to be very particular about the quality that goes in because it can really make or break the flavor.

The recipe called for sweet relish, but I really don't like sweet pickles, so I went with a dill relish. I also used old-style whole grain dijon mustard instead of the super smooth stuff you find more regularly. My favorite is the reliable French brand, Maille, and I think it really added something extra to this recipe. I also used a high quality paprika. I find that most general brand paprika you buy from the supermarket is flavorless and used mostly for color. I used Mas Portell Smoked Sweet Paprika and the flavor is outstanding. Dollop of mayo, some cayenne, salt, and black pepper, and time to mix!

Chelsea Market Cookbook Bacon Deviled Eggs | metalandhoney.com

I'm the worst about misplacing tiny things, so I'm pretty much always losing and repurchasing new metal tips. The only one I could find was a large plain, so I didn't get very fancy with my filling styling.

Chelsea Market Cookbook Bacon Deviled Eggs | metalandhoney.com

Bacon and eggs 'til the end of time. They go together like... bacon and eggs. Matthew cooked up some super thick, high quality bacon which I think was a really important texture choice. Creating these thick bacon chunks made for a chewiness that I enjoyed and maybe wouldn't have gotten with thin-sliced bacon.

We were blown away. These were freaking DELICIOUS and a huge hit with the crowd I made them for. I can't wait to experiment with my own recipes now that I have the hang of what makes a great deviled egg. Stay tuned! I might be obsessed.

Chelsea Market Cookbook Bacon Deviled Eggs | metalandhoney.com

Recipe from The Chelsea Market Cookbook by The Green Table

Serves 6 (we made a double recipe)

  • 2 slices bacon
  • 6 large eggs
  • 2 tbsp. mayonnaise
  • 1 tbsp. + 1 1/2 tsp. pickle relish
  • 1 1/2 tsp. dijon mustard
  • 1/4 teaspoon sweet paprika 
  • 1/4 tsp. cayenne (or to taste)
  • kosher salt and freshly ground pepper
  • paprika or Aleppo pepper for sprinkling
May 30, 2015 /Ashley Heafy
cooking, eggs
Cooking
Comment
Toasted Rice Ice Cream with Coconut and Black Tea | metalandhoney.com #jenisathome

Toasted Rice Ice Cream with Coconut and Black Tea

February 13, 2015 by Ashley Heafy in Cooking

We recently had a dinner party with a few friends who also share a love of fantastic food. It's not very often that Matt and I make a full menu including all beverages and courses being on theme. We were making two thai dishes, one curry and one peanut pork belly, so we wanted to finish off the meal with a unique ice cream that tied into these flavors.

It's no secret that we are obsessed with Jeni's Ice Cream. Her flavors are inventive, robust, and exciting -- not your average cream! I highly recommend buying her books ASAP.

I was in charge of dessert, so when I saw the title "Toasted Rice Ice Cream with a whiff of coconut and black tea" while perusing the book, I knew it was the flavor for the evening. 

I wouldn't say making ice cream is difficult, but you do have to pay attention to details. This wasn't one of the simpler ice creams I've churned, but only because there are many layers of flavors. My biggest advice in making ice cream is focusing on ingredients. High quality, high flavor, organic where possible -- it truly makes a difference.

Jeni's Toasted Rice Ice Cream | metalandhoney.com #jenisathome

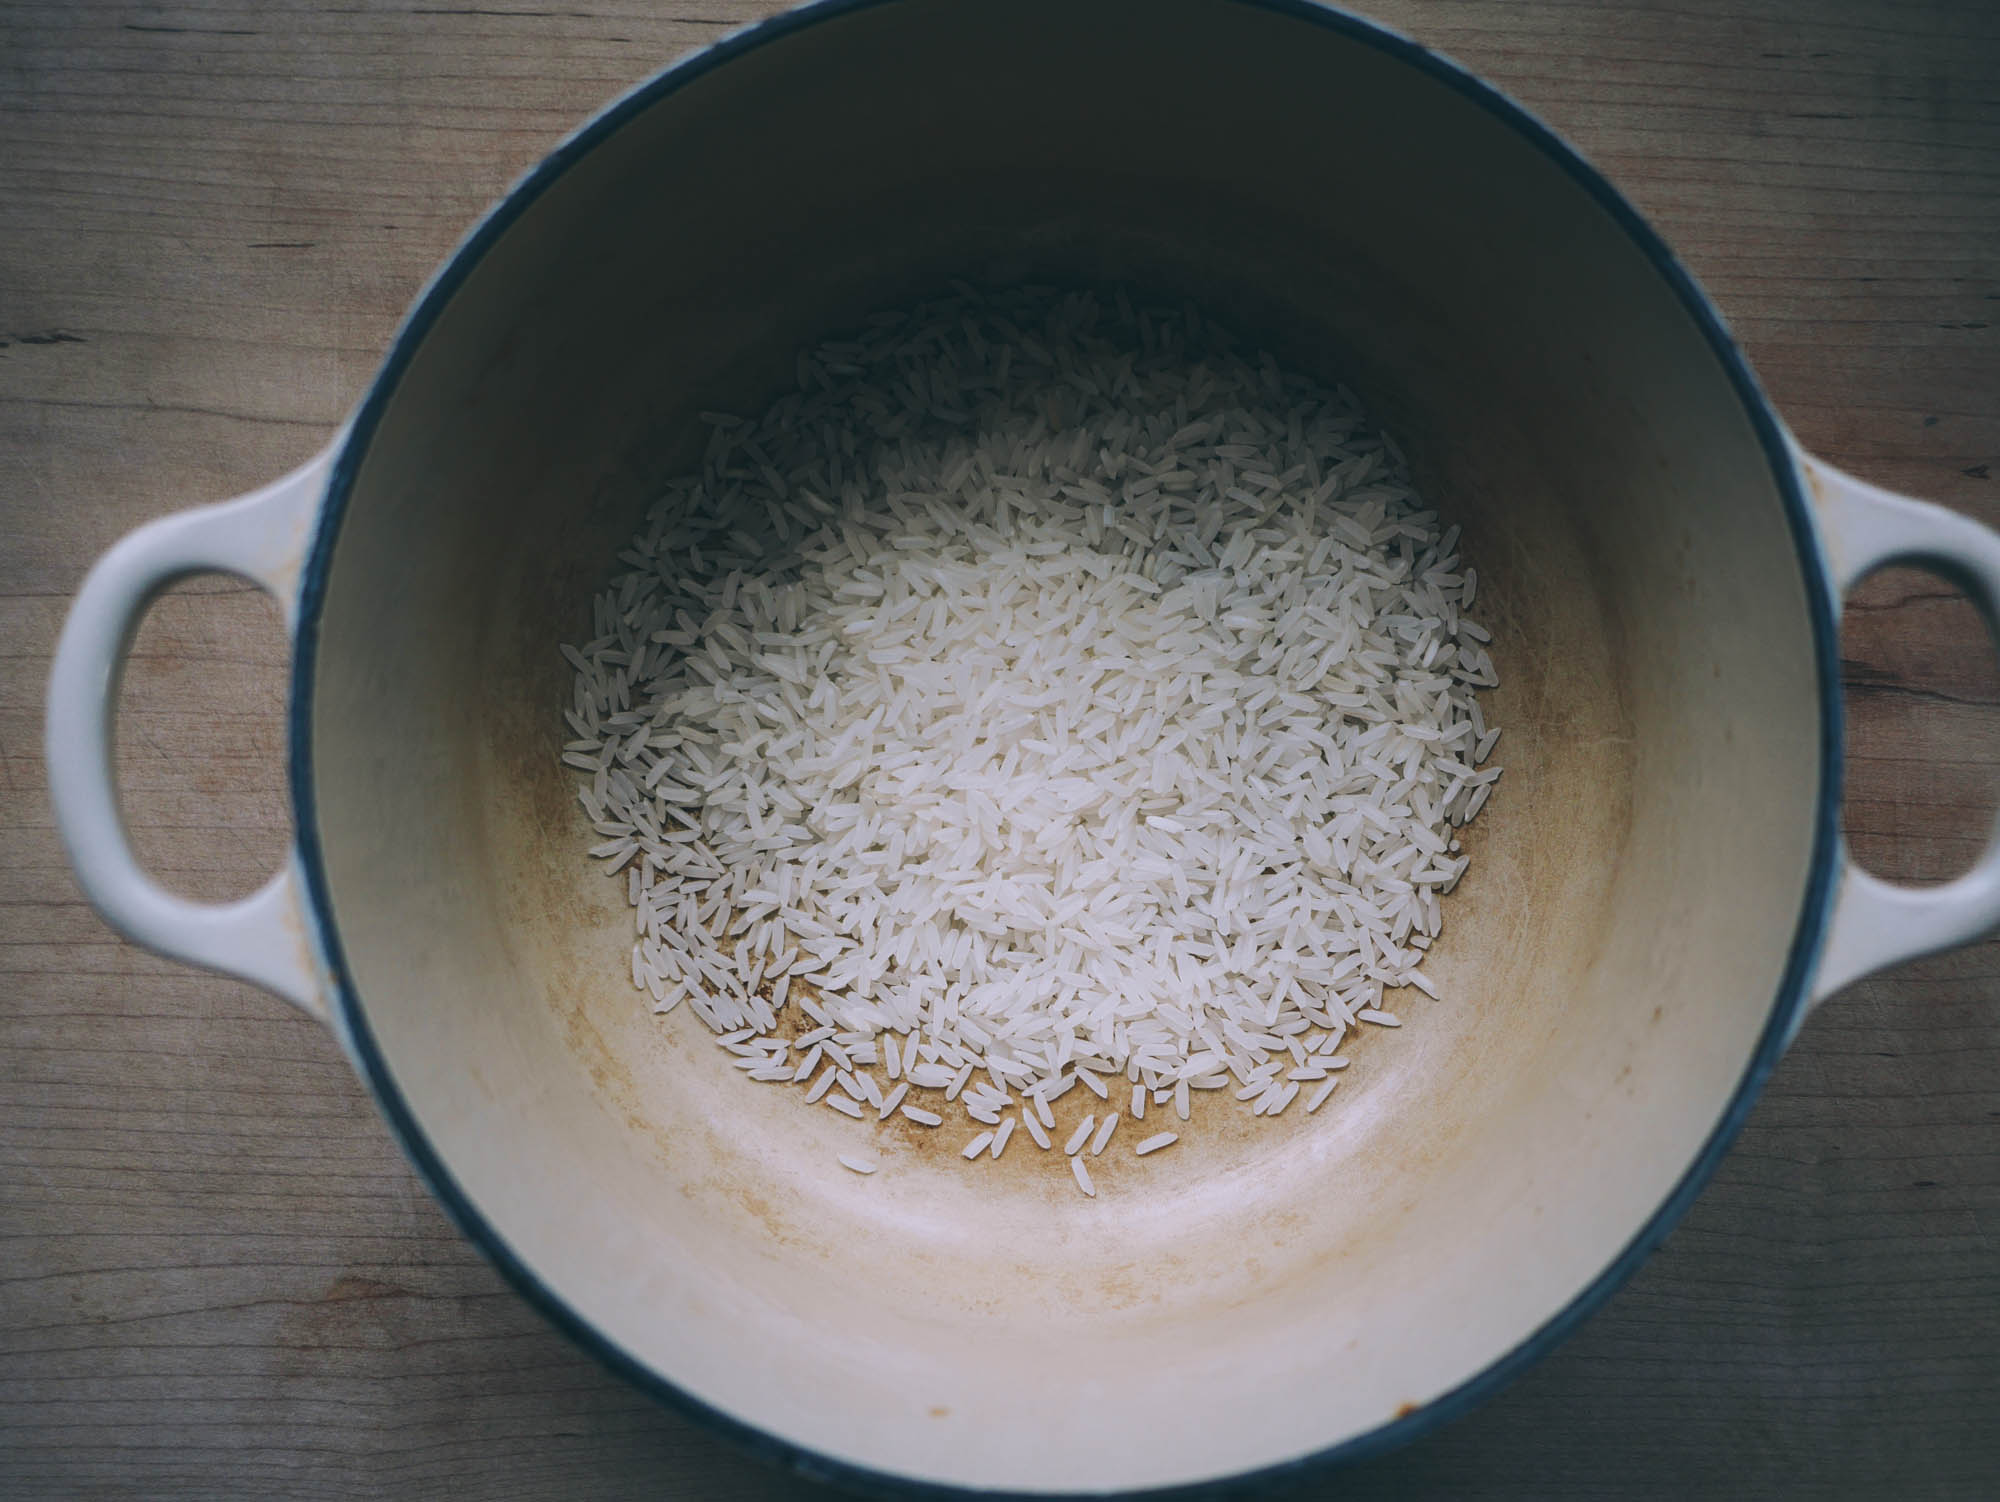
The recipe starts off with toasting jasmine rice. It wasn't easy to get even toasting, but I think it made for a prettier mix of colors anyways.

Jeni's Toasted Rice Ice Cream | metalandhoney.com #jenisathome

You essentially make a rice pudding with the toasted rice by cooking the rice in sugar and coconut milk (full fat!)

Jeni's Toasted Rice Ice Cream | metalandhoney.com #jenisathome

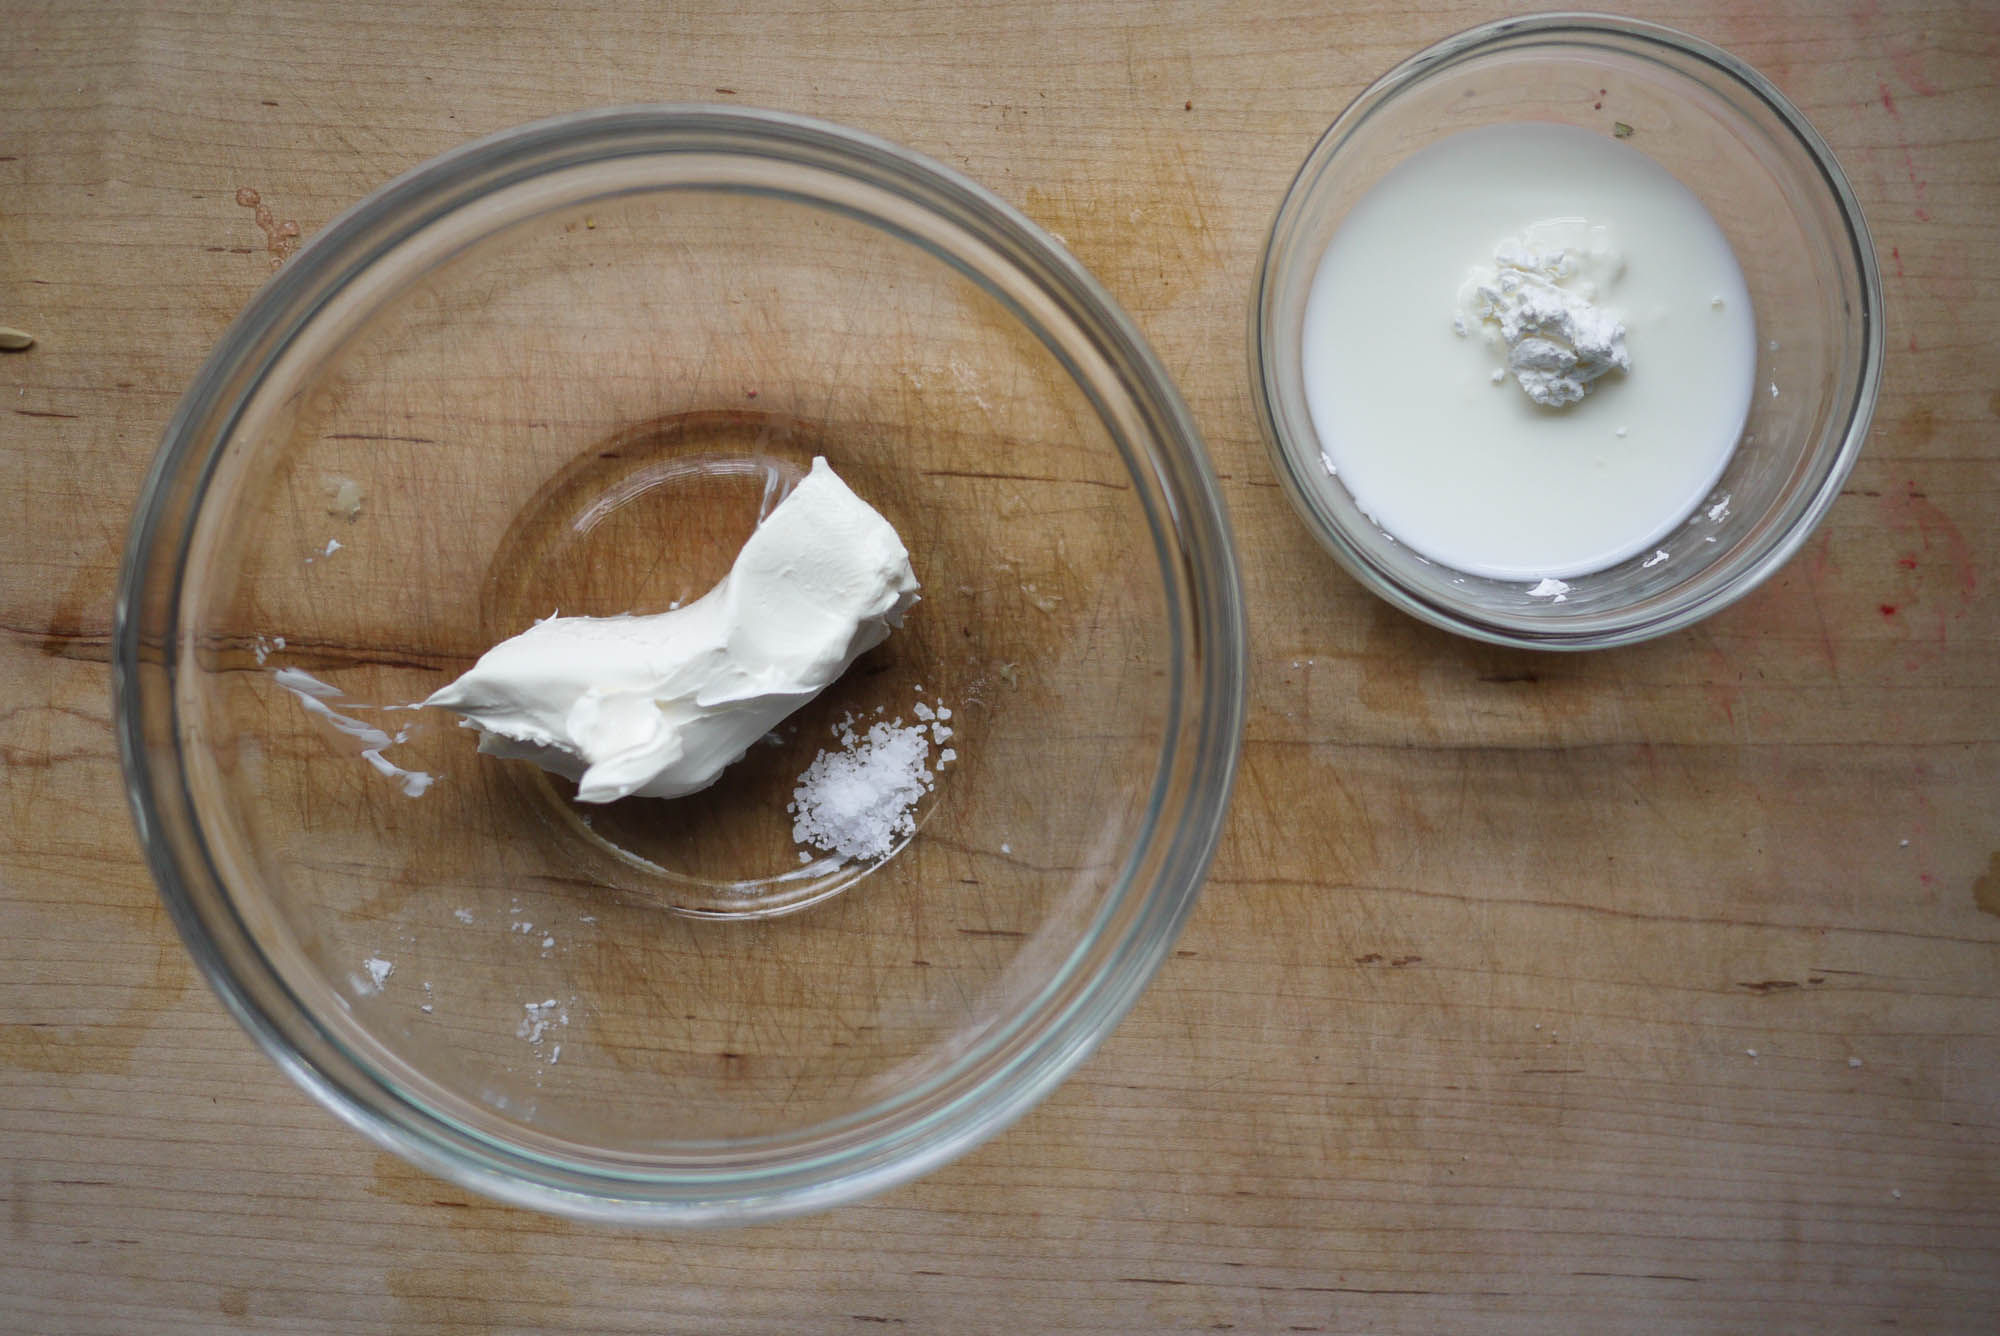
I then brought the ingredients together, after infusing with black tea, to complete the base which includes the ingredient that I have decided is Jeni's magical secret -- cream cheese!

Jeni's Toasted Rice Ice Cream | metalandhoney.com #jenisathome

Never rush your chilling process. It's important to allow your base to get completely chilled before putting it into your churn. If you put warm base into a frozen churn, the temperature won't stay cold enough long enough to freeze and your texture will be off.

This ice cream turned out a beautiful toasted color. I garnished with mango, mint, and a sprinkle of black sesame seeds for vibrancy and contrast. Next time, I will toast the sesame seeds to bring their flavor out more. This was a really interesting ice cream with subtle flavors and dense chewiness. One scoop was just enough to finish off our meal. Can't wait for my next Jeni's recipe! I plan to churn my way through the entire book.

Jeni's Toasted Rice Ice Cream | metalandhoney.com #jenisathome
February 13, 2015 /Ashley Heafy
cooking, ice cream, asian
Cooking
1 Comment
metalandhoney.com | Lychee Gin Cocktail with Lychee Rose Ice Spheres

Fancy Cubin': Lychee Gin Cocktail with Lychee Rose Ice Spheres

February 08, 2015 by Ashley Heafy in Cooking, Cocktails

I'm obsessed with fancy ice cubes -- especially oversized ones that don't melt quickly in your cocktail. I've had large square cubes for awhile and have played with freezing cranberries and rosemary at Christmas for festive ice, but when I came across a recipe for a Lychee Gin Cocktail in a cookbook from one of Matt's favorite restaurants, Chin Chin, I finally had to buy sphere molds. I highly recommend Tovolo brand -- so easy!

Lychees are funny little Chinese fruit. I love floral flavors like elderflower, but find lychees hard to find uses for (for me at least). I don't think they taste fantastic out of a can, the texture is squishy, and they sit in a syrup. But, they're not particularly easy to find fresh. When I saw Chin Chin's Lychee cocktail (and because I love gin everything!) I had to try it. Putting lychees in ice cubes, then eating them soaked in booze -- sounded like a grand use to me!

metalandhoney.com | Lychee Rose Ice Spheres Gin Cocktail
MetalHoney_LycheeRose-10.jpg

First, you line the ice mold with washed (preferably organic/pesticide free) rose petals and place a lychee in the middle. Next, you pour warm distilled water or previously boiled water in your mold. Boiled or distilled water will make your ice cubes more clear. Straight tap water tends to create cloudy ice. Here's a little science on that. You then freeze for at least 6-8 hours, undisturbed (even though it's hard not to peek!)

metalandhoney.com | Lychee Gin Cocktail with Lychee Rose Ice Spheres

And voila! Rose Lychee spheres. As you drink your cocktail, the petals and lychee will (very slowly) melt into your cocktail (if it makes it that long - mine didn't!)

metalandhoney.com | Lychee Rose Ice Spheres Gin Cocktail

Now for the cocktail. By Chin Chin, Melbourne, Australia.

30 ml Gin
15 ml Lychee Liqueur
15 ml Dolin Blanc Vermouth
10 ml Fresh Lemon Juice
5 ml Maraschino Liqueur (I prefer Luxardo)

metalandhoney.com | Lychee Rose Ice Spheres Gin Cocktail

And an extra photo -- because how cool do these look?!

MetalHoney_LycheeRose-7.jpg
February 08, 2015 /Ashley Heafy
Recipe, cocktail, gin, fruit, rose
Cooking, Cocktails
Comment
chicken kebap and baba ghanoush | Metal + Honey

A taste of Turkey at home... we're back in the cooking game!

August 17, 2014 by Ashley Heafy in Cooking

It has been a long, busy summer in many ways and fun cooking hasn't been a big priority. Matthew just spent nearly 3 months on tour with only a couple of days home, and cooking for one isn't very exciting. What is exciting, is tour souvenirs. Matthew tends to pick up cookbooks in countries where he has wonderful food experiences that he wants to bring home for us to try together. He was in Istanbul in June and picked up this little gem Istanbul: A Journey to the Heart of Turkish Cuisine. It's an accessible book that is in English and also helps you figure out how to make some of the dishes and spice mixtures that would normally be difficult, if not impossible, to find in the U.S. That's probably one of the biggest challenges about bringing books home from around the world - if they aren't meant for American/English translation, it can be virtually impossible to find ingredients or make things correctly, in which case, they just sit on a shelf. This book is really easy to follow and has a bit of everything Turkish we love.

For years, we've been wanting to make baba ghanoush (smoked eggplant dip). We are eggplant junkies, but let's be real - eggplants (or aubergines, as you Brits and Canadians call it) are not the easiest berry (yes, we just learned yesterday they are technically classified as a berry) to cook. We also learned that their bitterness, if not properly drained or prepared, comes from their lineage in the tobacco plant family. Cooking is for learning, kids! If not paired well in a recipe, they can also be smushy and flavorless. But if it's being smoked on the grill and paired with tons of olive oil and garlic, you really can't go wrong!

We also made chicken kebap - the recipe called for chicken livers, but admittedly, I'm a bit squeamish with animal guts. These simple skewers with turkish spices were delicious. Matthew did most of the heavy lifting on this recipe - his first since being back home from tour this week. We'll definitely be back in the cooking game over the next few months while he's on break, so stay tuned.

Scooping out smoked eggplant to be mashed through a sieve and mixed with yogurt, olive oil, and garlic.

Scooping out smoked eggplant to be mashed through a sieve and mixed with yogurt, olive oil, and garlic.

Fresh garlic mashed in a mortar and pestle into a paste.

Fresh garlic mashed in a mortar and pestle into a paste.

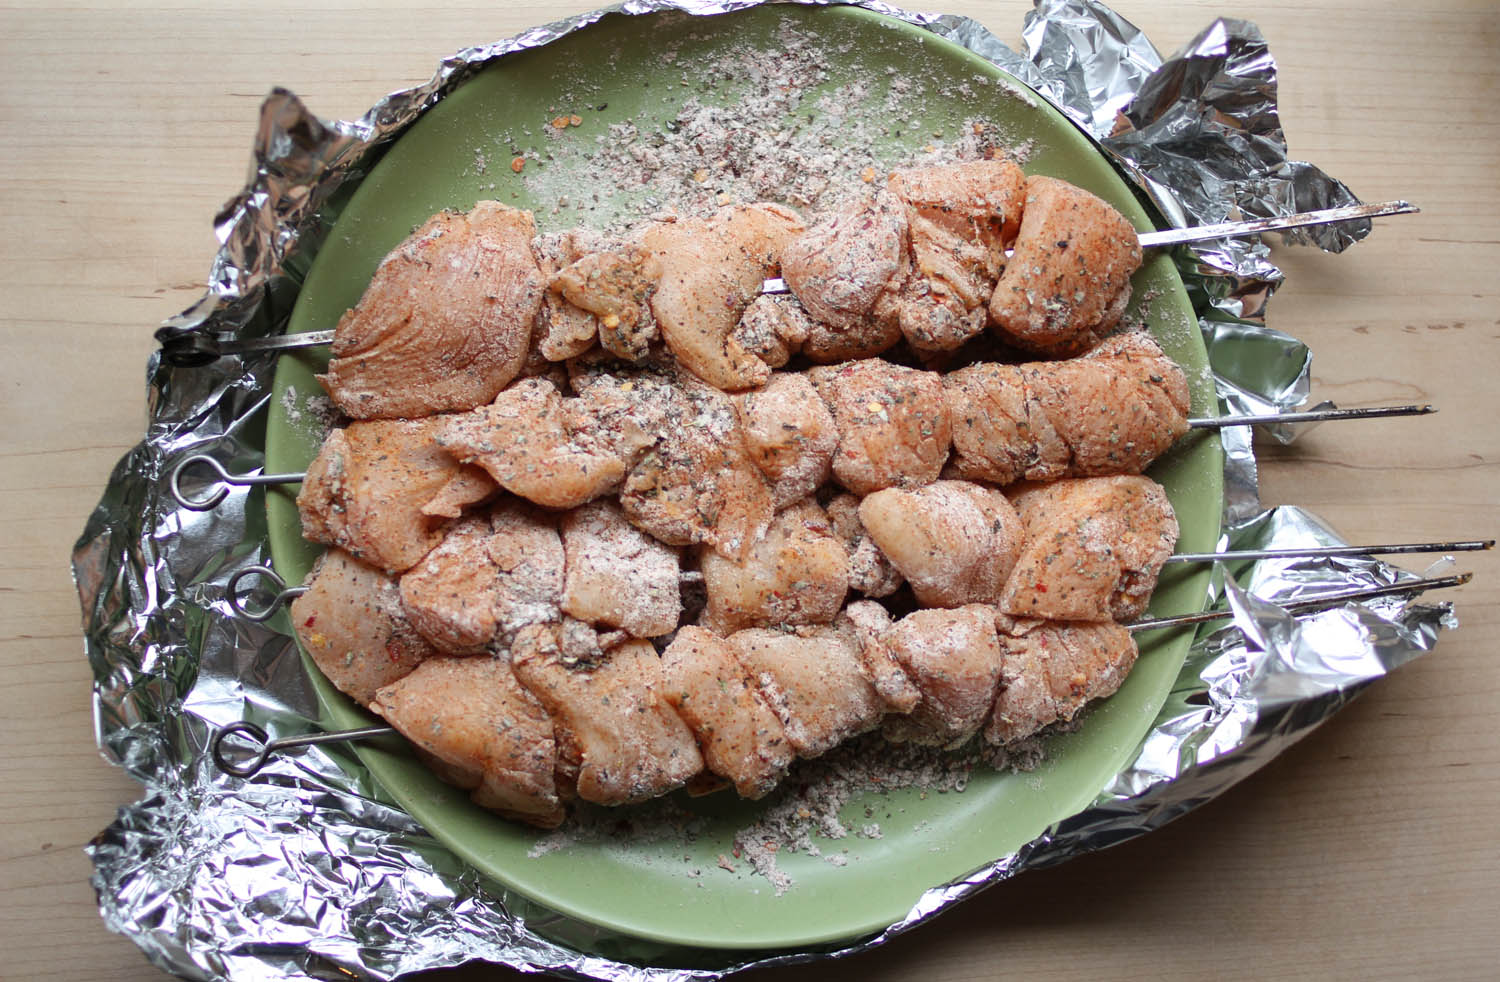
Skewered chicken. Next time we'll cut the chicken smaller for speedier grill time.

Skewered chicken. Next time we'll cut the chicken smaller for speedier grill time.

Grilled veggies and chicken over pita, sprinkled with sumac and a squeeze of lemon.

Grilled veggies and chicken over pita, sprinkled with sumac and a squeeze of lemon.

Cookbook: Istanbul: A Journey to the Heart of Turkish Cuisine

Soundtrack: Alan Shavarsh Bardezbanian Middle Eastern Ensemble - Oud Masterpieces

August 17, 2014 /Ashley Heafy
turkey, Travel-inspired, Chicken, spices
Cooking
6 Comments

Planning ahead for the work week... for once.

June 15, 2014 by Ashley Heafy in Cooking

Every week, I say to myself that I'm going to plan my lunches. I'm going to make a batch of something delicious that sits well in the refrigerator, that isn't a plain ol' salad. Every week, I fail to do this. I don't know why. The extra work on Sunday pays off for extra lunch break time! This Sunday, I committed to making something tasty that will last a few days to make my midday break a breeze.

When Matthew is on tour, I typically go vegetarian. I was actually a vegetarian as a teenager for nearly 6 years until we got together. As a steadfast carnivore, it didn't take long for him to pull me to the dark side, but alas, vegetarian recipes call my name 9 times out of 10.

We have a fantastic cookbook library at home, however, I find that the best vegetarian recipes come from amazing bloggers on the world wide web. Of course it's pretty easy to come up with dishes of veggies and greens, but I'm not at a point where I feel very inventive with healthy dishes, especially when it comes to lunch. My absolute favorite go-to when I'm hankering for a bright and fresh vegetarian dish is Cookie + Kate. If you haven't checked out her blog before, you're missing out! 

Peanut Sesame Slaw by Cookie + Kate | metalandhoney.com

The Peanut-Sesame Slaw with Soba Noodles called for brussels sprouts, however, I didn't find any at the market that looked good, so I went with shredded broccoli. Also, in the essence of time and a lazy Sunday, I went with pre-shredded organic slaw veggies to cut out some time. 

Peanut Sesame Slaw by Cookie + Kate | metalandhoney.com

One of our favorite things to collect while on tour is kitchen goods. When Matthew was on tour in Cleveland, Ohio recently, he visited one of our favorite restaurants The Greenhouse Tavern and picked up some of Chef Jonathan Sawyer's fantastic handcrafted vinegars from Tavern Vinegar Co. I highly recommend these vinegars! Tasty enough to taste from a spoon... that's my kind of vinegar. Definitely took this slaw up a notch.

Pretty excited for lunch this week! Now... to keep up with this every week.

Meanwhile, Matthew played Download Festival today and they had fireworks on stage... fireworks! You can check it out on his instagram.


June 15, 2014 /Ashley Heafy
Cooking, Lunch, Asian
Cooking
2 Comments
David Lebovitz Blue Cheese Pear and Ham Quiche | metalandhoney.com

Stinky cheese makes everything better.

June 02, 2014 by Ashley Heafy in Cooking

We love to host Sunday brunch. It's the best day of the week to get your favorite people together and have a potluck. Our group of friends is filled with people who know their way around the kitchen, so we always end up with an amazing spread.

I have my usual go-to's that I like to make: Spicy Baked Grits, anything from the Bubby's cookbook, a blood mary bar. But since I have been on a kick cooking my way through David Lebovitz's new My Paris Kitchen, I decided to give the Ham Pear and Blue Cheese Quiche a whirl.

I've never made this more French-style "deep dish" quiche, which definitely requires more cook time, but comes out with a much more impressive presence than using a shallow pie or tart pan. I originally thought I had done a crummy job with the crust, but not much, if any, of the creamy goodness leaked out. David made a great tip to cover the sides and bottom in foil, just in case you have any leaks. Avoiding oven messes is always a good idea! To my surprise, I ended up with a pretty perfect, nicely browned crust. All around, this was so flavorful and an amazing combination of flavors. Heavy cream, a touch of nutmeg, salty ham, pungent cheese. The pear added just a touch of sweet to a stinky cheese that can easily overpower your palate. I am definitely planning to make this again, but vary the ingredients -- the possibilities seem endless! And that excites me. 

David Lebovitz Blue Cheese Pear and Ham Quiche | metalandhoney.com
June 02, 2014 /Ashley Heafy
Cooking, brunch, eggs, quiche, breakfast
Cooking
1 Comment
Middle East Inspired Dinner | metalandhoney.com

When in doubt, your favorite cookbooks will pave the way.

May 29, 2014 by Ashley Heafy in Cooking

Some days, we have no idea what we want for dinner. When that happens, we'll grab a few of our favorite cookbooks and do a quick flip through to see if anything strikes our fancy. With Matthew having only one night left home before leaving for tour, we wanted to make this dinner count, but at the same time, didn't want to spend hours in the kitchen with a pile of dishes in the sink.

We are both into robust, heavily-spiced dishes -- we aren't typically excited about delicate flavors. Our spice cabinet isn't to be joked about (really, we have an entire cabinet filled only with spices). We opted for an Ottolenghi/Tamimi recipe from Jerusalem -- Turkey and Zucchini Burgers with Green Onion and Cumin. For a side, we opted for Lebovitz Lemon-pistachio Israeli Couscous, also in My Paris Kitchen.

Of course, when I was in a hurry to run to the market because we made a last minute dinner decision, I skimmed the recipes. This is always a formula for disaster -- I read lemon, but not preserved lemon (which couldn't be more different). I will definitely be making this again with preserved lemon, and making some to keep on standby as David does, but it was still absolutely beautiful and tasted great. I compensated with extra salt and a hefty squeeze of lemon juice. I'll report back when I make it correctly, although, this was still fabulous. I love everything about pistachios -- I'm even making pistachio ice cream this weekend! And the dried fruit was an unexpected sweetness in a typically savory dish.

Turkey burgers can be dry and tasteless -- these have to be the absolute best recipe for turkey burgers. Moist, well-spiced, with a sumac-lemon-yogurt-sour cream sauce that we basically want to put on all meat from now on.

This is going to be one of our weeknight go-to's from now on. 

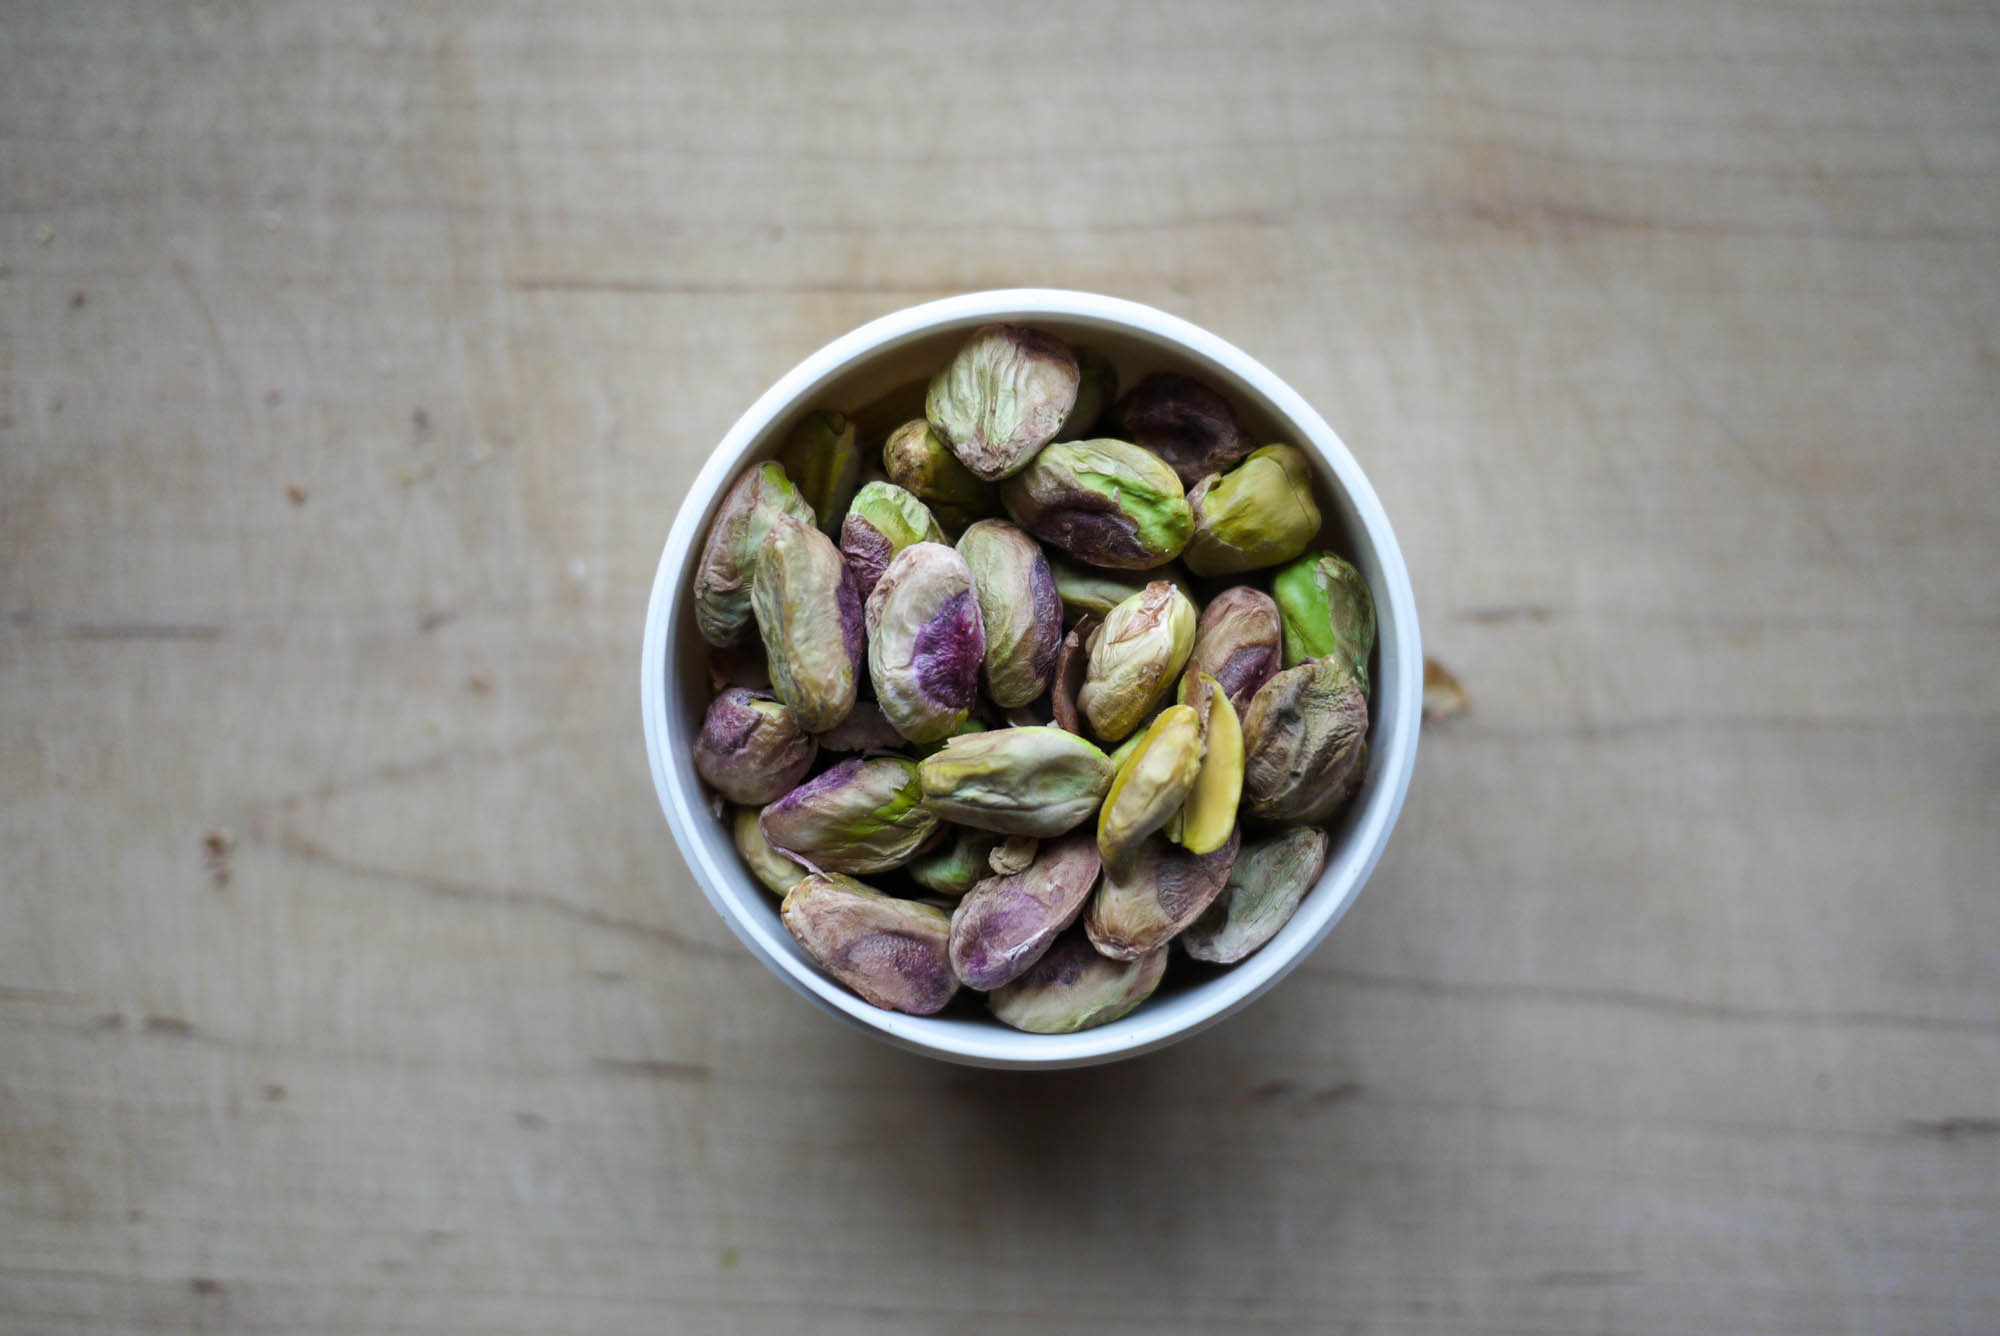
Beautiful, unsalted Pistachios.

Beautiful, unsalted Pistachios.

Middle East Inspired Dinner | metalandhoney.com
Dried Cherries, Cranberries, and Apricots

Dried Cherries, Cranberries, and Apricots

Nuts, fruits, herbs, and spices for the couscous.

Nuts, fruits, herbs, and spices for the couscous.

Turkey burgers brimming with herbs and spices.

Turkey burgers brimming with herbs and spices.

Greek yogurt, sour cream, sumac, salt, garlic, pepper, and olive oil for the creamy sauce.

Greek yogurt, sour cream, sumac, salt, garlic, pepper, and olive oil for the creamy sauce.

Colorful, and deliciously balanced couscous.

Colorful, and deliciously balanced couscous.

We have leaps and bounds to go when it comes to beautiful plating, but what matters most is that it was absolutely delicious.

We have leaps and bounds to go when it comes to beautiful plating, but what matters most is that it was absolutely delicious.

May 29, 2014 /Ashley Heafy
middle eastern, grains, turkey, spices, lebovitz, ottolenghi
Cooking
2 Comments
Jeni's Strawberry Buttermilk Ice Cream | metalandhoney.com

I scream, you scream, we all scream for Roasted Strawberry + Buttermilk Ice Cream

May 26, 2014 by Ashley Heafy in Cooking

It's Memorial Day, so I'll begin with a note of memoriam for those who have served in the US military and lost their lives in the line of duty. We thank and salute you for your bravery.

Memorial Day is typically filled with general Americana. Plus, beaches, BBQ, and the day off of work. We decided to stay home and relax since Matthew departs for a European festival tour in just a few days. We always try to jam pack not only quality time, but all of the best home cooking we can squeeze in since it's about to be 4 weeks of catering, lunch meat, and eating out.

Today, we were jonesing for some homemade ice cream. We are obsessed with Jeni's Splendid Ice Cream. We buy it at our local Fresh Market, however, Matthew recently had the privilege of going to her storefront in Columbus, Ohio (color me jealous!) while on tour and brought the cookbook home for our library. 

I make ice cream all the time. It's definitely one of those things that seems a lot harder than it really is because good ice cream has minimal ingredients - cream, milk, sugar, and just a few extras for flavor. I also prefer American-style (Philadelphia-style) ice cream over French egg-custard. It's just a bit icier, less rich, and much easier to make (I'm known to curdle an egg/cream mixture).

We decided on Roasted Strawberry Buttermilk - it felt All-American and appropriate for the holiday. Buttermilk makes me all warm and fuzzy - it's such a Southern tradition - my grandmother drinks it out of the carton. As for me, I much prefer it in my recipes over drinking. We also decided to make a recommended balsamic reduction drizzle. 

I can't wait to figure out what to do with the leftover roasted strawberry puree - but I think I have a summer cocktail in mind!

This ice cream is absolute perfection - creamy and sweet with a touch of sour - I can't wait to make more from Jeni's. Knowing us, we'll be cooking our way through the entire book this year.

SOUNDTRACK: Early Rock 'n Roll Classics. Listen here.

COOKBOOK: Jeni's Splendid Ice Creams at Home

Fresh, Organic Strawberries

Fresh, Organic Strawberries

Jeni's Strawberry Buttermilk Ice Cream | metalandhoney.com
A few tablespoons of lemon perfectly balance the strawberry sweetness.

A few tablespoons of lemon perfectly balance the strawberry sweetness.

Vitamix for perfect pureeing!

Vitamix for perfect pureeing!

I've never made ice cream with cream cheese before. It added such an amazing creaminess with a touch of sour.

I've never made ice cream with cream cheese before. It added such an amazing creaminess with a touch of sour.

The puree/dairy swirl.

The puree/dairy swirl.

Leftover puree, jarred and ready for another use this week.

Leftover puree, jarred and ready for another use this week.

We use our KitchenAid mixer with the frozen bowl attachment. It's so easy and low mess.

We use our KitchenAid mixer with the frozen bowl attachment. It's so easy and low mess.

Two scoops with a balsamic reduction drizzle.

Two scoops with a balsamic reduction drizzle.


May 26, 2014 /Ashley Heafy
ice cream, strawberry, dessert
Cooking
2 Comments

Parlez-vous French cooking? Not really, but we can try.

May 25, 2014 by Ashley Heafy in Cooking

Saturday usually means spending the day making something more laborious than we would normally have time for on a weekday. Matthew gifted me the latest cookbook from my favorite food writer, David Lebovitz, for my birthday (My Paris Kitchen), but I waited until he was home so we could dig into our first recipe from it together.

French cooking is no joke. I'm not a big rule follower, and French cooking requires a lot of line-by-line instructions to be followed exactly. David Lebovitz manages to create recipes that infuse French culinary traditions while not being overly obtuse. If I can follow it without the itch to stray, anyone can. And lucky for me, Matthew is a big rule follower, so he keeps me in check.

We are huge fans of meat pie dishes as we both grew up with Southern grandparents. Naturally, the first dish we had to attempt was the Chicken pot Parmentier -- a French-style chicken take on a beef pie. 

The recipe called for two little tablespoons of white wine, so we had to open something we wanted to drink. We still had one bottle of Sauvignon Blanc left from Matthew's recent travels to Fairview Winery in South Africa. We know very little about wine and food pairings, but it actually worked beautifully.

One issue we had to troubleshoot through was ricing the potatoes. We don't have a potato ricer, and David Lebovitz explicitly states not to mash them with a beater to make sure the potatoes stayed light and not gluey. We made a shot-in-the-dark call that the KitchenAid mixer with the grater attachment would be the best shot... and it worked! Perfectly riced potatoes.

During the final step of piping the potatoes on, I couldn't for the life of me find my metal tips, so we winged it with a pastry bag with a small cut opening. 

This recipe took some time, so by the time it came out of the oven, we were starving and dug in before photographing the end result! (Picture the final photo with a crispier brown edge).

SOUNDTRACK: French Gypsy Jazz. Listen here.

COOKBOOK: My Paris Kitchen by David Lebovitz

I couldn't resist these beautiful peonies at the market. They match my tattoos!

Shout out to our friends at our fave ramen joint, Ramen Tatsu-Ya!

Shout out to our friends at our fave ramen joint, Ramen Tatsu-Ya!

May 25, 2014 /Ashley Heafy
Cooking, French, Chicken
Cooking
11 Comments
  • Newer
  • Older

Powered by Squarespace